How to Install Ark Survival Ascended Server Manager
Arkasm is an alternative server manager for Ark Survival Ascended. There are a few of them out there in various stages. This one however is free, or $10 – $25 Dollars depending on when you purchase it. Currently (03/01/25) it is a 10.00 dollars because it is still in the development/feature adding phase. When the program goes 1.0 it will become 25 dollars.
I really liked Ark Dedicated Manager however it is far to complicated now and requires a yearly sub or lifetime license ($13.00 or $70.00) HOWEVER you must pay that just to be able to update your servers after a patch. There are work a rounds, but the manager itself is getting to complicated requiring it’s own servers to work. I wanted something simple. The following video explains the differences if you would like to know more and decide which server manager could be right for you.
I assume you have already read the in’s and out’s of running your own server, things like the monthly costs, the hardware, and leaving your computer up 24/7. If you have not I recommend starting with this quick read, It can save you hours of time and frustration. Below is a video on how to install.
Now to the Install
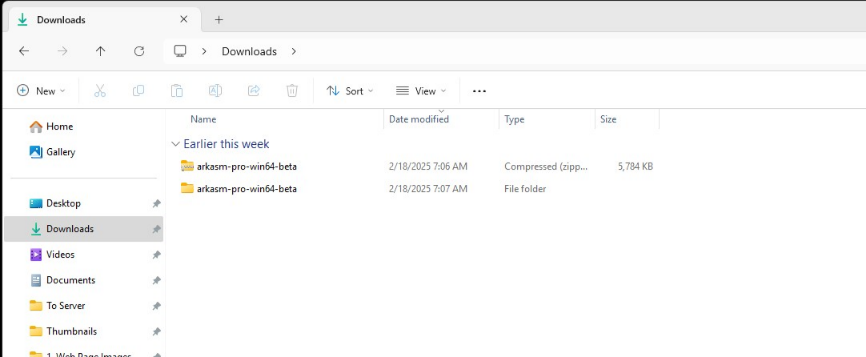
First Go to the link below and download the file. If you want server clustering, I suggest just buying the “PRO” version, right now it is a steal at 10.00.
Next, Unzip the downloaded file, you can do this in the downloads folder if you want to.
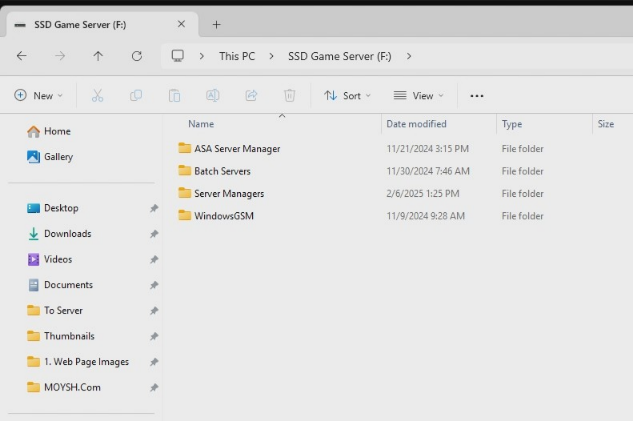
Go to where you would like your server files to reside. I have a drive just for servers, and I store them according to type, Batch, Manager, Windowsgsm, This makes them much easier to find.
- Create Folder In Install Location
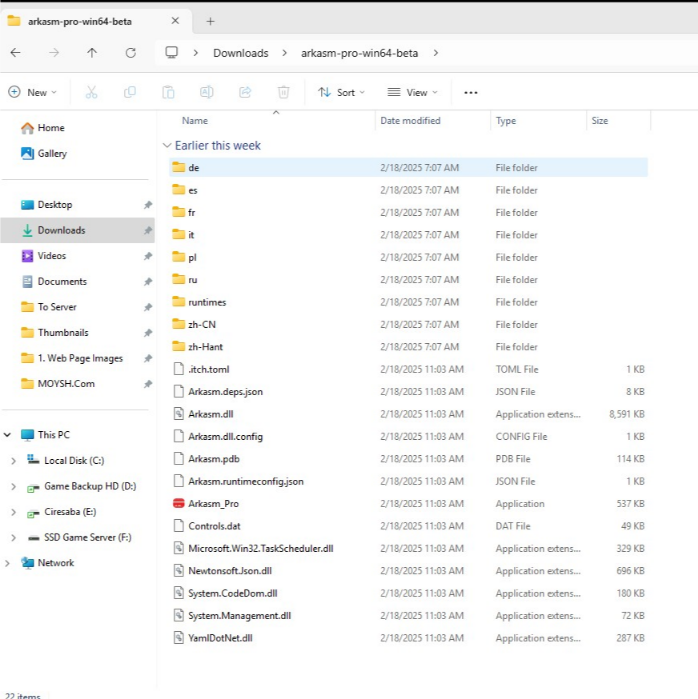
Now simply copy and paste the unzipped files into the new location. Create a short cut of the .exe file (arkasm) on your desktop. (Right click hold and drag, release on desktop, select create shortcut.).
Double click the .exe to run. (Run as Admin). ARKASM will guide you through either importing an exisiting server or downloading a new server.
NOTE: Importing a server does not import the current servers configuration or saves.
Setting up and duplicating profiles is considerably easier in this program that in the ASADedicated server program. Just go to File, new server and the process is very easy to follow.
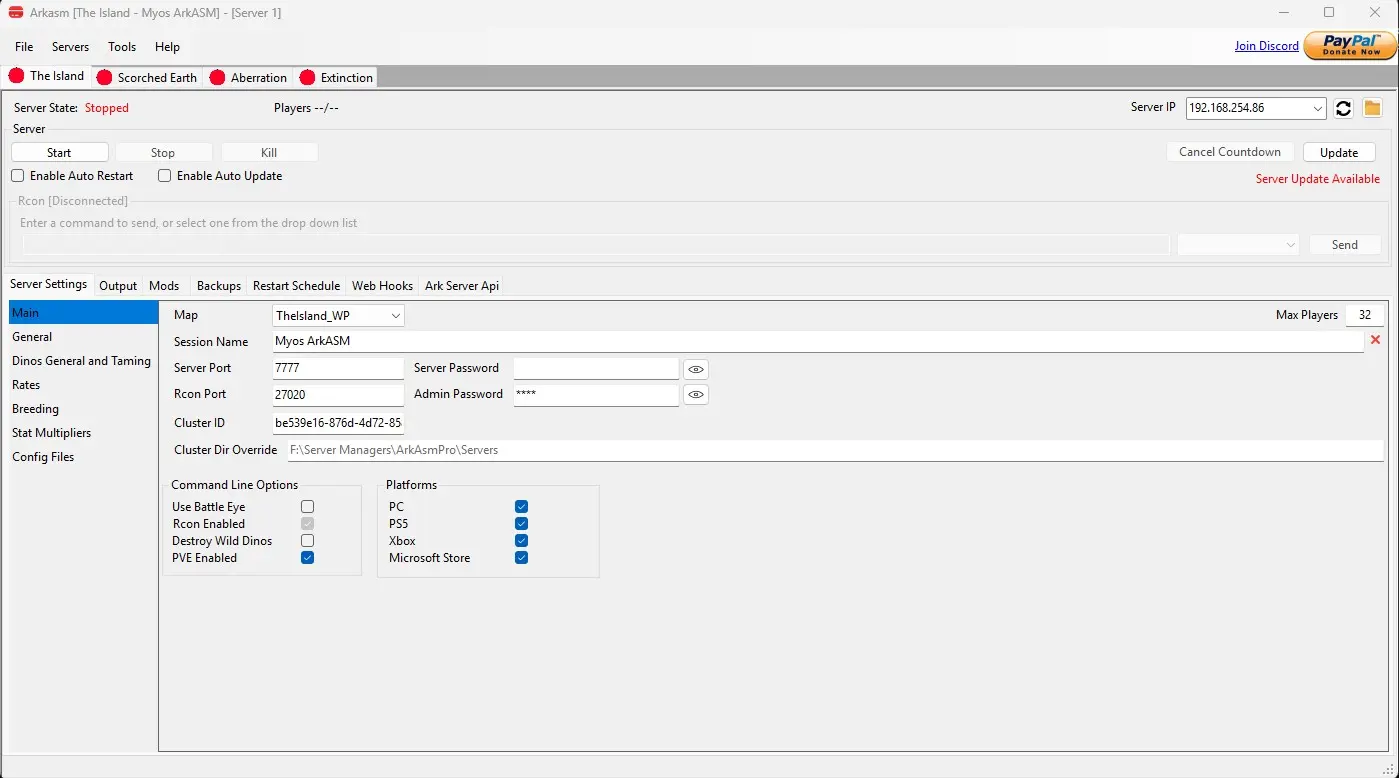
Set Your Ports
You will need to open ports in your router. I open a range of ports because with every map release you will need more ports if you want to run more than one map at the same time. This is an easy way to transport tames and items from one map to another.
Port Ranges
If you don’t know how to forward ports in your router, this page should have everything you need. It is normally easy to do once you have a general understanding of what you are trying to accomplish and if you have the username and password to the router. See how to open ports HERE for more help.
Common things to change
Player Settings
- GenericXPMultiplier
- PlayerHarvestingDamageMultiplier
World Settings
Dino Settings
- DinoHarvestDamageMultiplier
GameUserSettings
- Gameplay Settings
- Difficulty Offset
- OverrideOfficialDifficulty
- serverPVE
- ShowFloatingDamageText
For a full list of all configuration settings go read.